How Do I: Actions Overview - Creating, Assigning & Updating?
This document provides an overview of the actions feature including how to create an action, who it can be assigned to, what information to include, how to update an action and where to find site action lists.
Actions are globally shared across the system and can be added to Audits, Safety Cards and Incident Reports to assign tasks to individual users.
Portal:
To create an action, click on the Audit, Safety Card or Incident Report that you want it to relate to and click the + Create Action button. You can only assign actions to users who have a licence for the feature the action is related to, for example, an action arising from an audit can only be assigned to a user that has an audit licence.
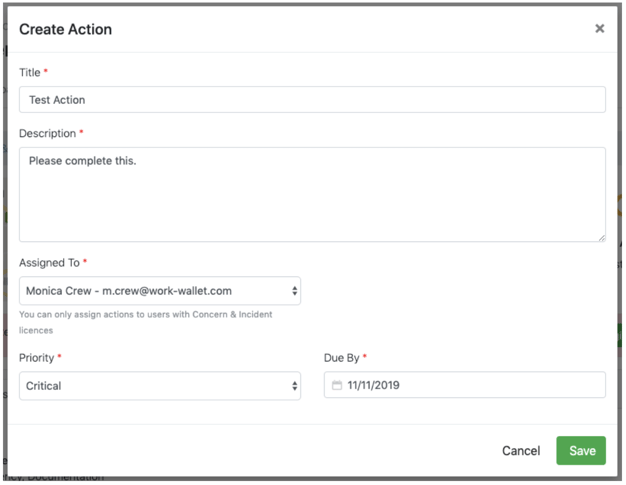
Add a title, description, assign it to a user, select the priority and a date it needs to be completed by. Click Save. This will send a notification to the user that they have been assigned an action.
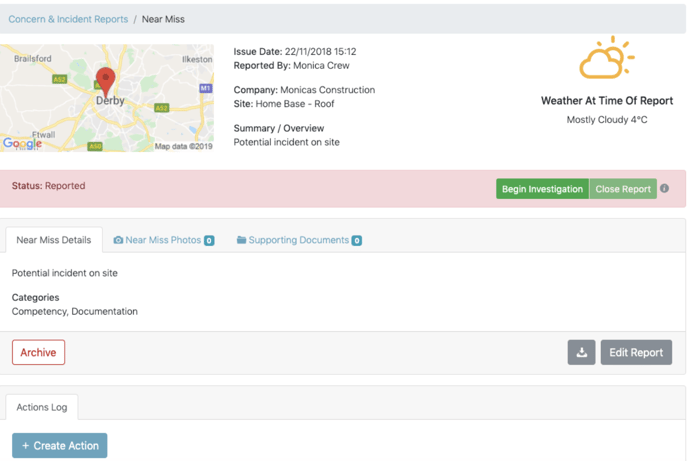
The action can now be updated, edited or deleted depending on the progress of the Audit/Incident Report/Safety Card. The Update Action button can be used to add comments, photos or to change the status of the action (In Progress/Closed). This button is used to close actions, which must be done in order to close an Audit, Safety Card or Incident Report.

The site dashboard shows a list of actions assigned to any particular site.
Click on a site Dashboard:
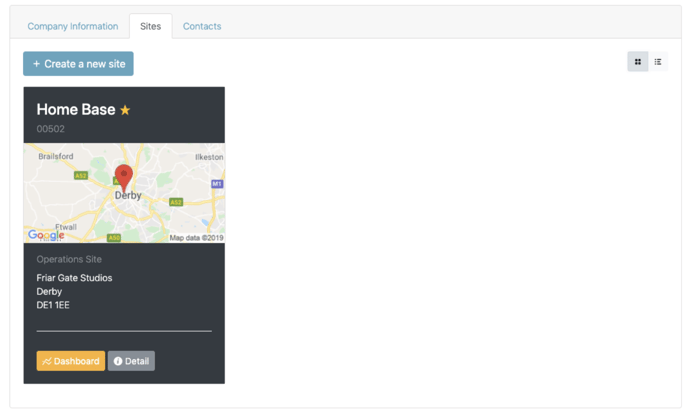
The Actions tab will show all the actions relating to that site. From here you can view/update/edit/delete an action.

App:
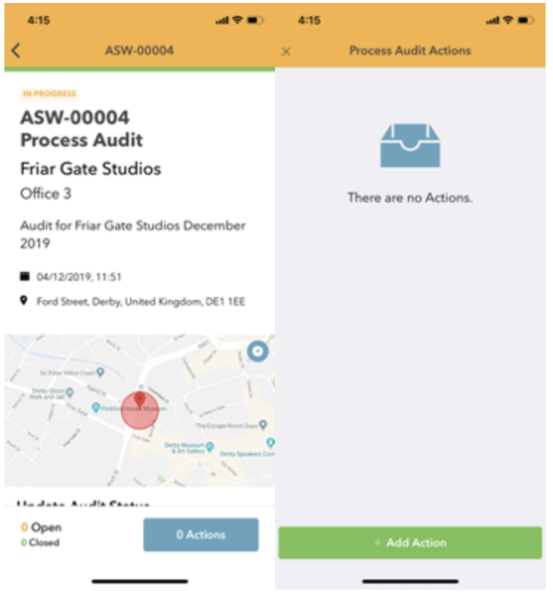
To create an Action, click on the Audit/Safety Card/Incident Report that you want it to relate to, click the blue (Number) Actions button at the bottom of your screen and then + Add Action.
Note: this section at the bottom of your app also shows how many actions you have open/closed.
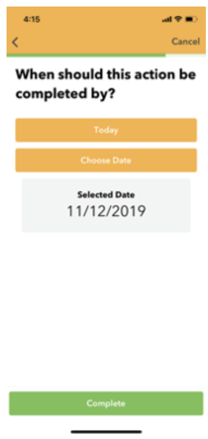
Add a title, description, assign it to a user, select the priority and a date it needs to be completed by. Click Complete. This will send a notification to the user that they have been assigned an action.
