
Zapier provides a centralised platform to connect with over 5,000 applications so you can automate and share your Work Wallet data with a wide range of systems.
Headline integrations and possibilities include:
- OneDrive & Google Drive (for storing your completed documents)
- Microsoft Teams & Slack (for instant alerts when an item is completed
- Outlook & gmail (for fully branded and automated emails)
To get started, first you need to create, or login to you Zapier account. Head over to zapier.com to complete this.
Once this is complete, login to your Wallet and go to Settings > API Keys
(You need to be a Wallet Administrator to access this area)
You will need to create an API key for Zapier to connect to, so click on 'Create API Key' to get started.
To start, give your API key a name so that it's recognisable (The name of the platform you're integrating with is recommended) - choose how many months it is valid for and then select which modules you would like to give access to.
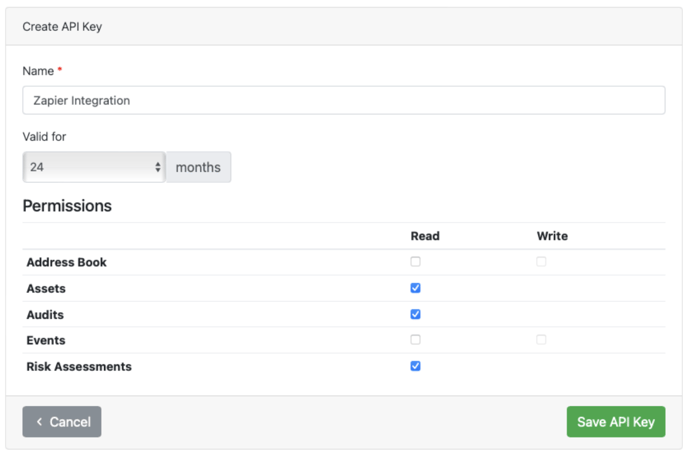
When you save your API key, you will be shown the key needed for integration. Be sure to copy it at this stage, you won't be able to see it again!
Once that's in place, it's time to go to Zapier and create your Zap.
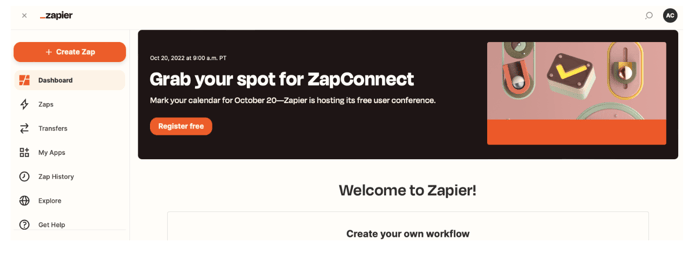
From your Zapier dashboard, click 'Create Zap' to get started.
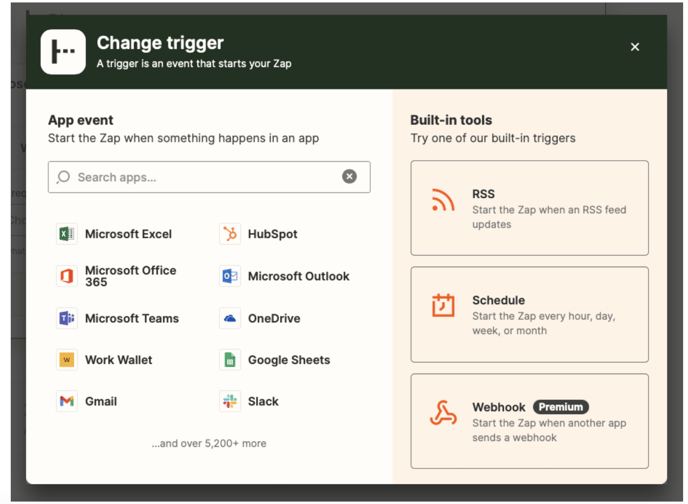
Your first step is to set the trigger for your action. This is where you choose Work Wallet from the list of available applications
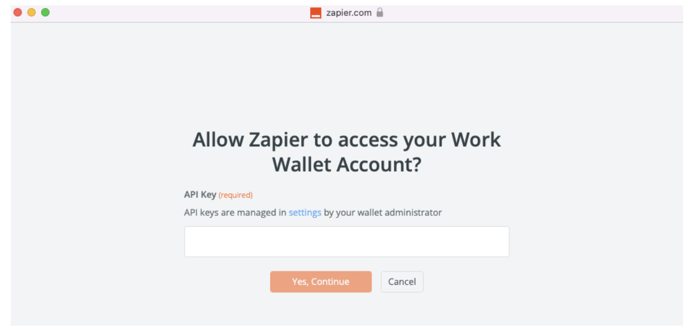
Once selected, you will then need to authorise the applications to share data. Click 'Authorise' and a popup window will appear. Here you simply need to paste in the API key given to you by Work Wallet and you're set and ready to go.
From here, you will be able to then configure the Events for the next step of the Zap. Please see our other guides for specific event setup support.